Introduction to Sourdough Starter
Sourdough starter is a fascinating byproduct of natural fermentation, serving as a fundamental component in the world of baking. Essentially, it is a mixture of flour and water that encourages wild yeast and beneficial bacteria from the environment to thrive. This combination of microorganisms acts as a natural leavening agent, allowing bread to rise without the need for commercial yeast. Understanding the role of the sourdough starter is crucial for anyone aspiring to bake authentic sourdough bread.
The significance of a sourdough starter extends beyond its leavening capabilities. It plays a vital role in developing the flavor and texture of the final product. The proliferation of wild yeast contributes to a unique tangy flavor, while the bacteria produce lactic acid, further enhancing the depth of taste. Such characteristics are often sought after by both amateur bakers as well as experienced professionals, who desire to replicate the complex nuances found in traditional sourdough breads.
Creating a sourdough starter at home allows bakers to cultivate a personalized culture that reflects their local environment and taste preferences. The process involves regular feeding, which helps maintain the balance of yeast and bacteria, ensuring the starter remains active and healthy. When used in baking, a well-maintained sourdough starter can yield a loaf that boasts a delightful crust, a chewy crumb, and an unmistakable flavor profile that is deeply satisfying. This makes sourdough not just a method of bread-making, but a cherished culinary tradition that is accessible to anyone willing to invest time and care into the process.
Ingredients You Will Need
Creating a sourdough starter is a straightforward process that requires a few essential ingredients. The primary items needed to begin this culinary journey include 1 quart of lukewarm water, which is crucial for activating the yeast and providing the moisture needed for fermentation. It is important to ensure that the water is not too hot, as excessive temperatures can kill the yeast, hindering the fermentation process.
In addition to water, you will require 1 packet of dry yeast. Dry yeast will kickstart the fermentation process by introducing beneficial microorganisms that contribute to the development of that characteristic sour flavor. While you can use commercial dry yeast, those who prefer a more robust flavor may also opt for naturally derived yeasts found in the air or on flour, although this can take longer to establish.
Next, include 2 teaspoons of sugar, which acts as a food source for the yeast, facilitating its growth and activity. Sugar helps to create a balanced environment in which the fermentation can thrive. While sugar is essential, it can be slightly adjusted based on personal preferences regarding sweetness and tanginess in the final product.
Finally, you will need 4 cups of flour as the backbone of your sourdough starter. Bread flour is often recommended for its higher protein content, which helps in developing gluten, resulting in better texture and rise in your sourdough bread. Alternatively, whole wheat flour can also be utilized to provide a richer flavor and additional nutrients. While these ingredients are essential, feel free to experiment with optional ingredients such as a tablespoon of honey or malt extract. These can impart additional flavors and nutrients to your starter, enhancing its overall profile.
Step 1: Combine Ingredients
Creating a sourdough starter begins with the careful combination of its primary ingredients: flour, water, sugar, and dry yeast. The order in which these components are mixed is crucial to achieving a successful fermentation process. To initiate the starter, begin by measuring out lukewarm water, ideally at a temperature between 100°F and 110°F (37°C to 43°C). This temperature range is optimal for activating the dry yeast.
In a clean mixing bowl or a designated crock, dissolve a teaspoon of sugar in the lukewarm water. The sugar acts as a food source for the yeast, enhancing its activity as it softens. It is vital to let the yeast hydrate for approximately five to ten minutes. During this time, you’ll notice the yeast begins to foam and bubble, indicating that it is alive and ready to contribute to the fermentation process.
Once the yeast has softened, gradually incorporate all-purpose flour into the mixture. It is recommended to start with one cup of flour, sifting it into the bowl or crock for better aeration. This step is essential as it allows for an even distribution of ingredients. Use a wooden spoon or spatula to mix the flour and water until a thick, cohesive dough forms. Avoid over-mixing, as a sticky texture is desirable at this stage. If you prefer a healthier alternative, consider utilizing whole wheat or rye flour, which can enhance flavor and nutritional content.
After achieving the appropriate consistency, cover the container with a breathable cloth or plastic wrap to retain moisture while allowing for airflow. This initial combination of ingredients sets a solid foundation for your sourdough starter. Ensuring the right conditions from the outset will significantly influence the overall effectiveness and flavor of your homemade sourdough bread.
Step 2: Let It Rise
Once the sourdough starter mixture has been combined, the next critical phase in the process is allowing the mixture to rise. This stage is essential for the development of the desired yeast activity, which is fundamental for a successful sourdough starter. It is crucial to find an appropriate environment for the starter to thrive. The optimal temperature for yeast activity is generally between 70°F and 80°F (21°C to 27°C). If your kitchen is cooler, consider placing the crock in a warm spot, such as near an oven or a heater, ensuring it does not exceed 85°F (29°C), which may harm the yeast.
To protect the mixture from contaminants while still allowing it to breathe, cover the container loosely with a cloth or plastic wrap. This will enable some airflow, which is vital for the fermentation process, while still preventing dust or insects from entering the mixture. It is advisable to check the mixture periodically, as yeast is a living organism that requires monitoring.
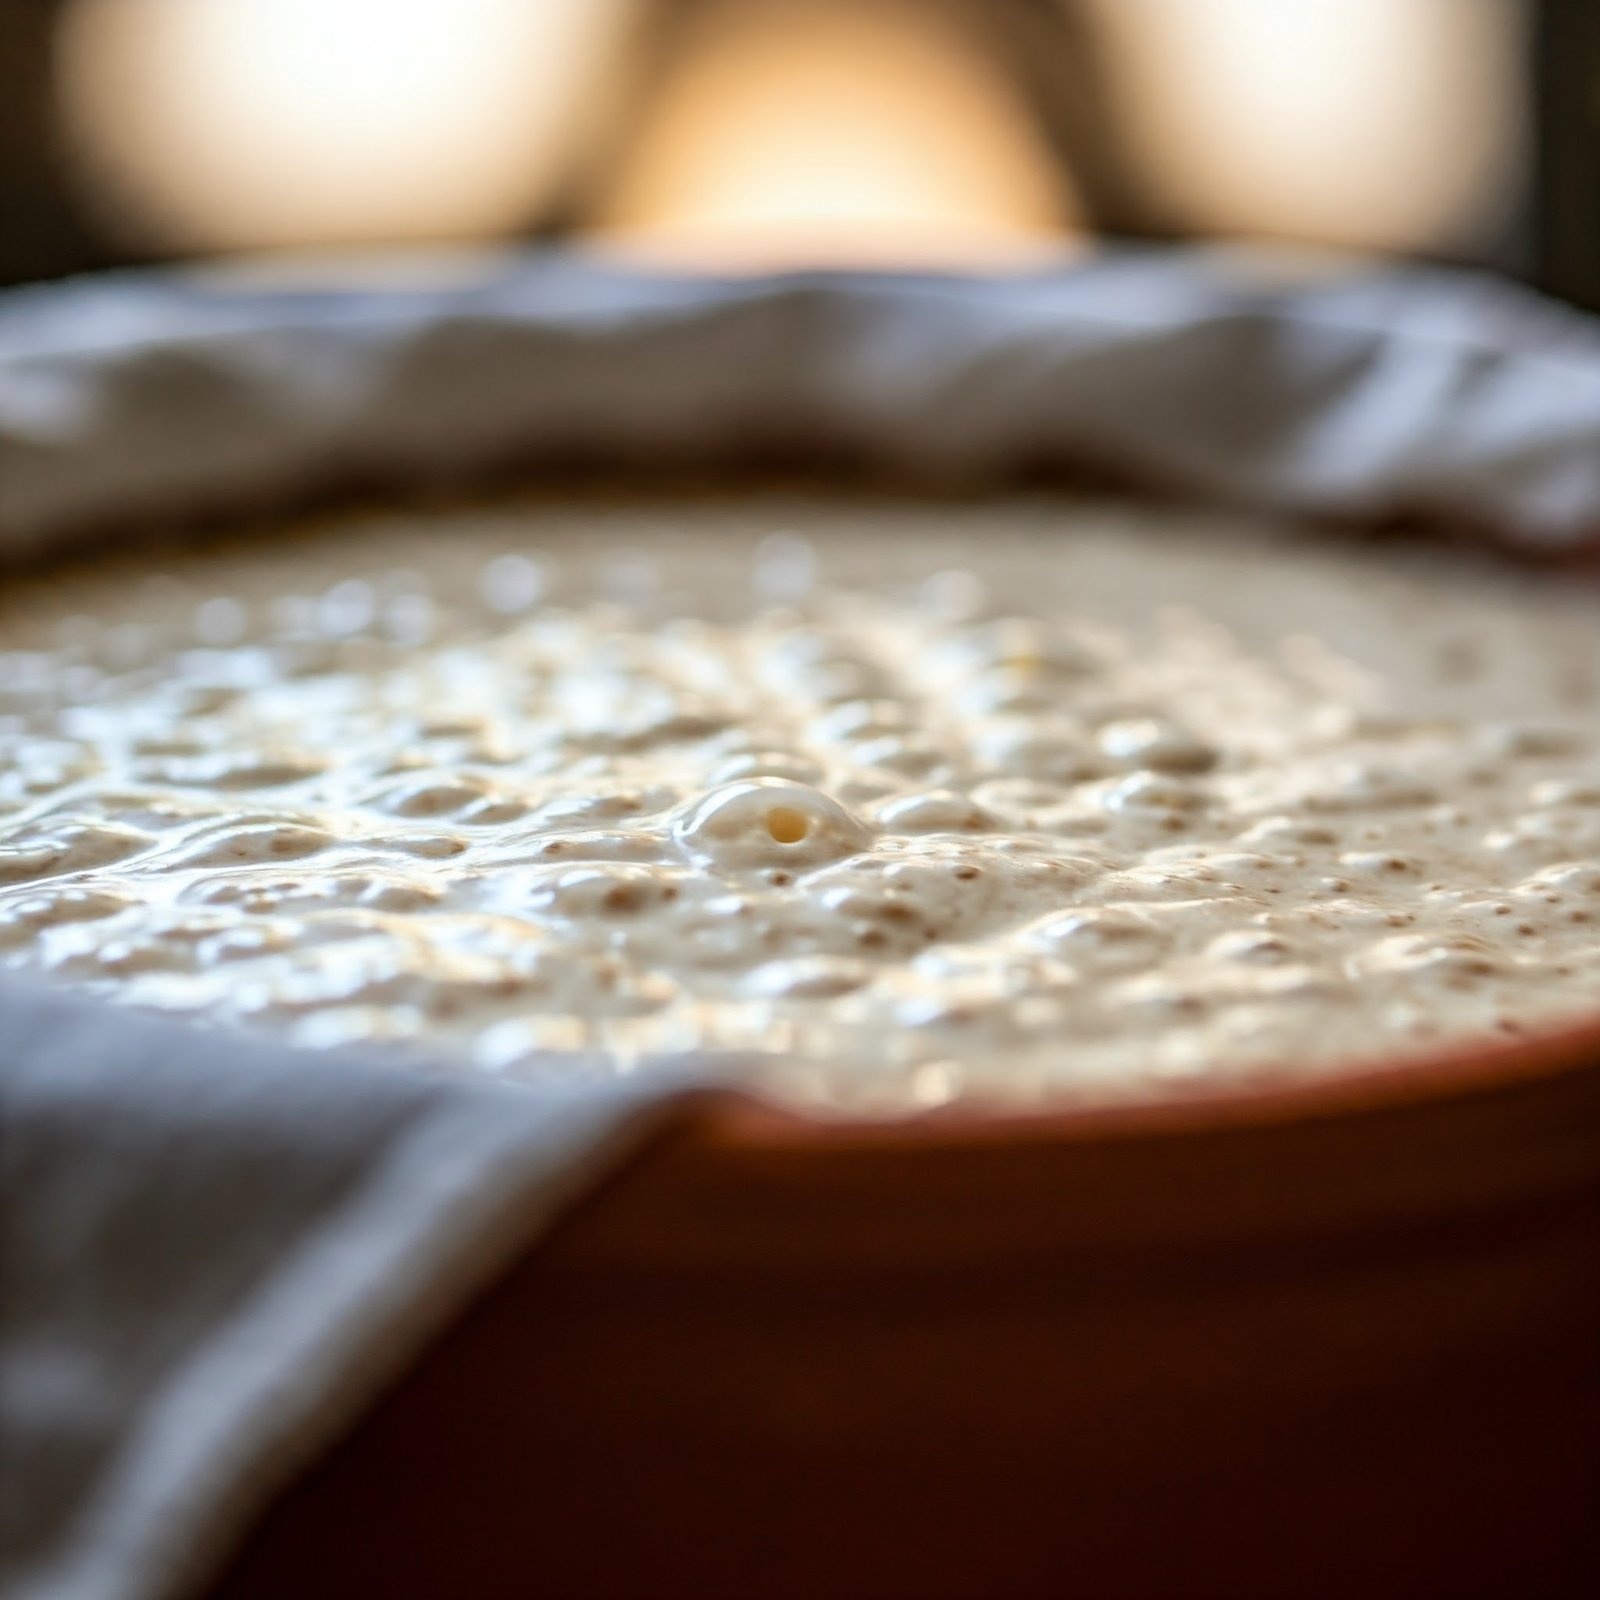
The rising process typically lasts about 48 hours. During this time, you may notice changes in the mixture. It will likely become thinner and might develop small bubbles, which are signs of yeast fermentation. It is essential to manage the consistency of the starter; if you notice that the mixture has thinned significantly, you may choose to add a bit more flour to maintain the desired texture for effective fermentation.
Overall, monitoring your sourdough starter during this critical period will provide valuable insights into its readiness for the next stages. Signs that indicate your starter is ready include a doubling in size, a pleasant tangy aroma, and the presence of bubbles throughout the mixture. Once these indications are observed, you will be prepared to move on to the next step of developing your sourdough starter.
Step 3: Maintaining Your Sourdough Starter
Once your sourdough starter is well-established, its maintenance becomes a crucial aspect of ensuring an active and healthy culture. Properly maintaining your sourdough starter allows it to flourish, ultimately yielding superior bread with wonderful texture and flavor. To maintain your starter effectively, you will need to replace the amount of starter you use with equal parts flour and water. This process is often referred to as ‘feeding’ the starter.
When you remove a portion of your sourdough starter to bake bread, it is essential to replace that quantity with both flour and water in equal weights. For instance, if you use 100 grams of starter, you should add 100 grams of water and 100 grams of flour. This feeding routine provides fresh nutrients to your yeast and bacteria, ensuring they remain active and vigorous. By doing this consistently, you will help your starter develop a robust flavor and sourness over time.
The frequency of feedings depends largely on how you choose to store your starter. If kept at room temperature, it is advisable to feed your starter at least once a day. On the other hand, if you store your starter in the refrigerator, you can feed it once a week. When taking it out of the refrigerator, allow it to come to room temperature, and give it a feeding to reactivate before using it for baking. Proper storage is also essential; choose a container that allows for some airflow but protects the mixture from contaminants. Traditionally, glass jars work well for this purpose.
Incorporating these practices into your sourdough starter routine will foster a thriving culture, ready to provide you with exquisite bread-making experiences. Monitoring the bubbles and activity level of your starter can also signal when it’s time for another feeding, as vigorous activity indicates a happy and healthy starter.
Common Issues and Solutions
Creating a sourdough starter can be an enriching endeavor, yet it is not devoid of challenges. Many bakers encounter common issues that can impede the development of a healthy starter. Addressing these problems effectively can ensure a successful fermentation process.
One frequent issue is a lack of bubbles, an indication that the yeast activity is low. If your sourdough starter isn’t bubbling as expected, it may be due to inadequate feeding or a too-cool environment. To resolve this, ensure that you are feeding your starter regularly—typically every 12 to 24 hours—and maintaining it in a warm location. The ideal temperature for your starter to thrive is around 75 to 85°F (24 to 29°C). If your kitchen is cold, consider using an oven’s light or a heating pad to provide warmth.
Another problem can arise when the starter develops an off smell, which might be reminiscent of something rotten or overly alcoholic. This unpleasant odor often points to the presence of undesirable bacteria. To remedy this situation, discard a portion of the starter and give it fresh flour and water. This refreshment can help restore balance in the microbial community of your starter. Regular monitoring and careful feeding will also enhance the quality of your starter over time.
Additionally, some bakers might notice a layer of liquid forming on top of their starter, known as “hooch.” This is a sign that the yeast has depleted its food supply. While it is safe to stir the hooch back into the starter, it is preferable to feed it to prevent future occurrences. Keeping a consistent feeding schedule can minimize this issue and support a more vigorous starter.
In conclusion, resolving these common problems requires vigilance and care. By understanding how to address any arising issues during the sourdough starter process, bakers can successfully cultivate a robust culture, paving the way for delightful homemade bread.
Using Your Sourdough Starter in Baking
Incorporating your homemade sourdough starter into baking recipes can elevate your bread-making endeavors significantly. A sourdough starter not only adds distinctive flavor but also contributes to the unique texture of the finished product. To effectively use your starter, understanding how to measure it for various recipes is crucial. Most sourdough-based recipes call for a particular amount of starter, often measured in cups or grams. It is essential to ensure accuracy in measurements, as it directly impacts the hydration and fermentation levels of your dough.
When incorporating your sourdough starter, it is also important to consider potential substitutions. If a recipe calls for yeast, you can typically substitute a portion of the flour and water with an equal amount of active starter. For instance, if a recipe requires 2 teaspoons of dry yeast, you might use 1 cup of sourdough starter instead, adjusting the flour and water quantity accordingly. This interchangeability allows bakers to enjoy the delightful benefits of sourdough without abandoning their favorite recipes.
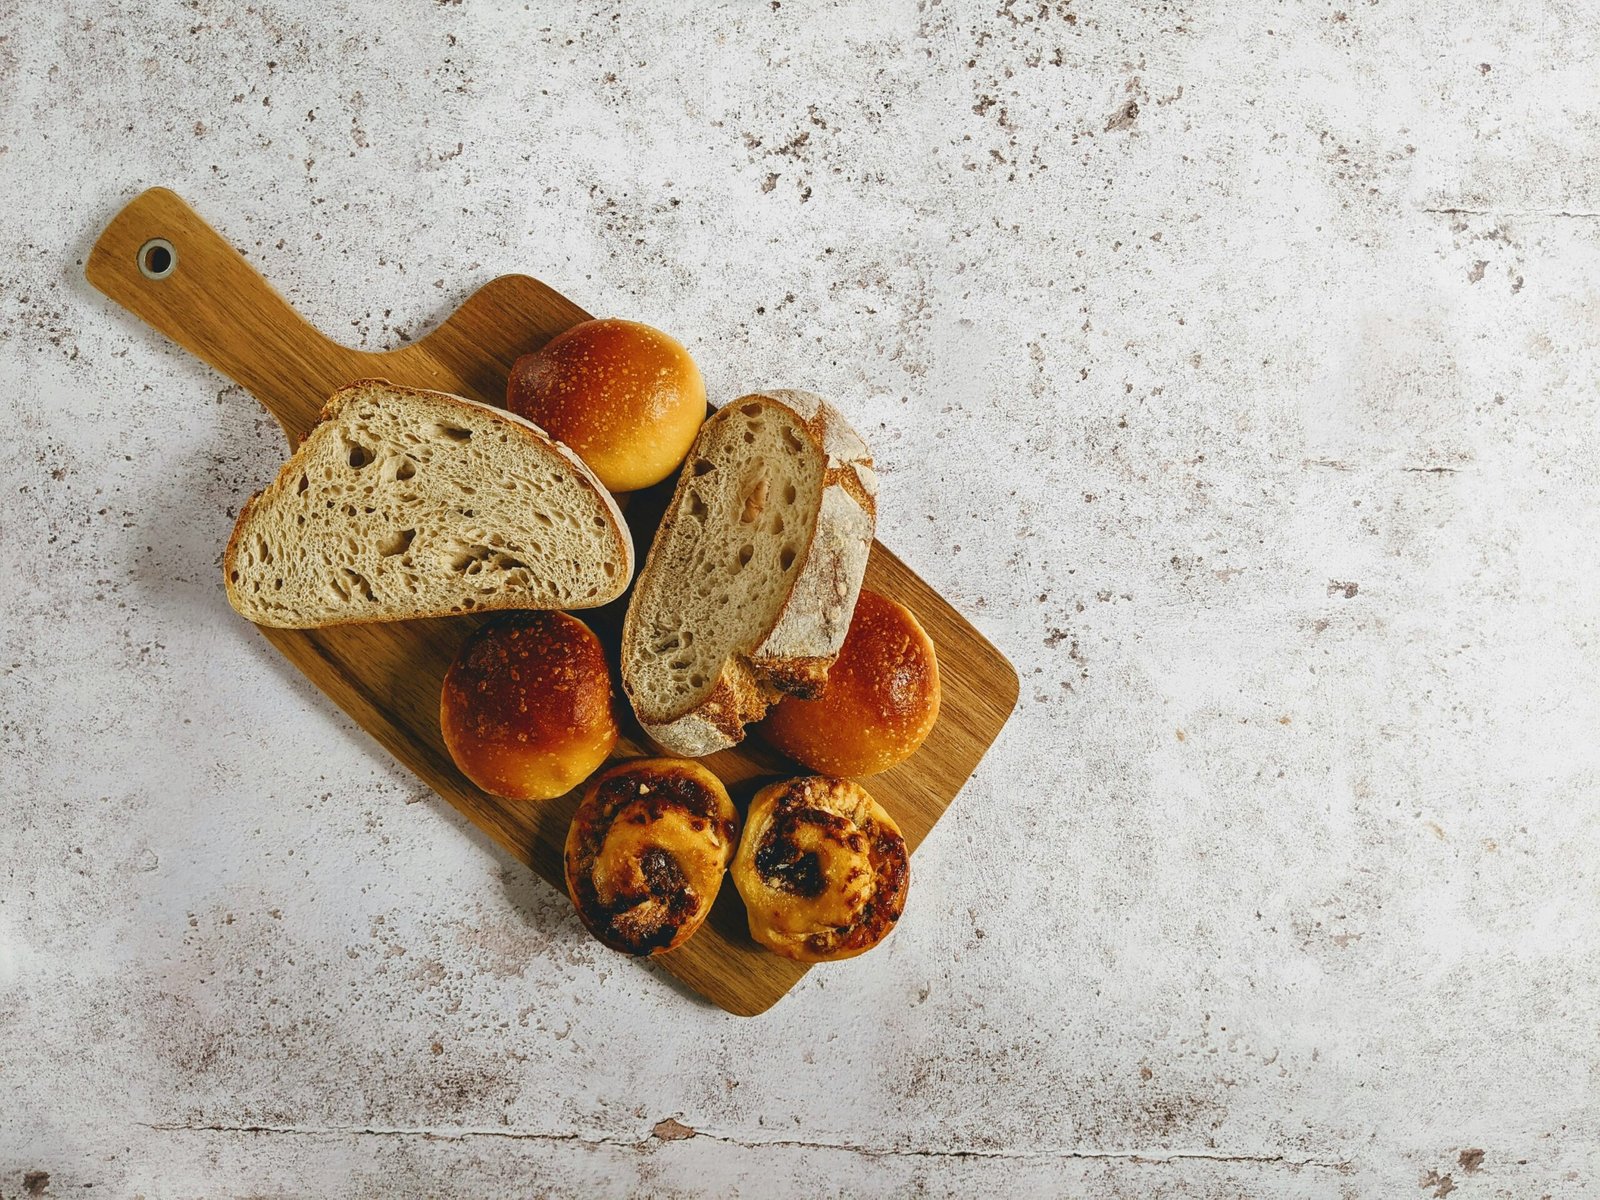
Different types of breads benefit most from a sourdough starter, notably artisan-style loaves, baguettes, and country breads. These recipes leverage the natural fermentation of sourdough to create a robust flavor profile and a chewy texture. Even within traditional recipes, such as focaccia or pizza dough, integrating sourdough starter can impart a delightful tang and improve the overall crumb structure. As you experiment with your baking, feel free to adapt various recipes by incorporating your starter, observing how the flavors and textures evolve with each batch.
Embracing the use of a sourdough starter in your baking can open a new dimension of flavors and textures, making each loaf a testament to your skill and passion as a baker.
Flavor Variations and Customization
Creating your own sourdough starter is not just a science; it is also an art that flourishes on creativity and personal taste. One of the simplest ways to customize your sourdough starter is by experimenting with different types of flour. For instance, substituting all-purpose flour with whole wheat or rye flour can significantly alter the flavor profile. Whole wheat flour retains more nutrients and has a richer taste, while rye flour imparts a distinct earthy and spicy flavor. Both can enhance your sourdough bread, making it more complex and tasty.
In addition to varying the base flour, you can introduce various flavors to your sourdough starter through the inclusion of herbs and spices. For example, adding dried herbs such as rosemary or thyme can provide aromatic nuances to your bread. Ground spices like cinnamon or nutmeg can also infuse the starter with warmth, making it an excellent choice for certain types of loaves, especially those paired with sweet additions like raisins or nuts.
Furthermore, consider incorporating fruit, such as mashed bananas or pureed apples, into your sourdough starter. This introduction not only adds sweetness but also contributes to moisture, creating a softer crumb in the final baked product. Keep in mind that adding fruits can alter the fermentation process, so it is vital to monitor your starter closely to ensure it remains active and bubbly.
Ultimately, the beauty of sourdough lies in its versatility. As you experiment with various flours, herbs, and other flavorings, you may discover unique blends that resonate with your palate. Each batch holds the potential for a new experience, and these personal touches can transform your sourdough starter into a reflection of your tastes and preferences. As you embark on this flavorful journey, remember that each variation creates a unique signature in your baking.
Conclusion and Next Steps
In this guide, we have journeyed through the essential steps for creating your own sourdough starter. We began by discussing the importance of using quality ingredients, such as flour and water, to cultivate the natural wild yeast and bacteria necessary for fermentation. Following a straightforward feeding schedule is critical to developing a robust and active starter that can rise dough effectively. The methods outlined, including the use of a warm environment and proper container, ensure that your starter will thrive.
We also explored the various indicators of a healthy sourdough starter, such as its rise, bubbles, and pleasant aroma. Understanding these signs will empower you to assess the readiness of your starter for baking. Additionally, we emphasized the patience required in this process, as developing a starter can take anywhere from five to ten days, depending on environmental conditions and flour types.
As you embark on your sourdough starter creation, we encourage you to embrace the process with enthusiasm and curiosity. Once your starter is established, the next step is to experiment with baking. You can try your hand at a variety of recipes from artisan bread to pancakes, knowing that each one will offer a unique flavor profile and texture. Joining sourdough communities, whether online or in local groups, can provide invaluable support and inspiration. Sharing experiences, troubleshooting issues, and exchanging recipes can significantly enrich your baking journey.
We hope this guide has demystified sourdough starter preparation and ignited your passion for baking. Happy baking, and may your bread rise beautifully!


